
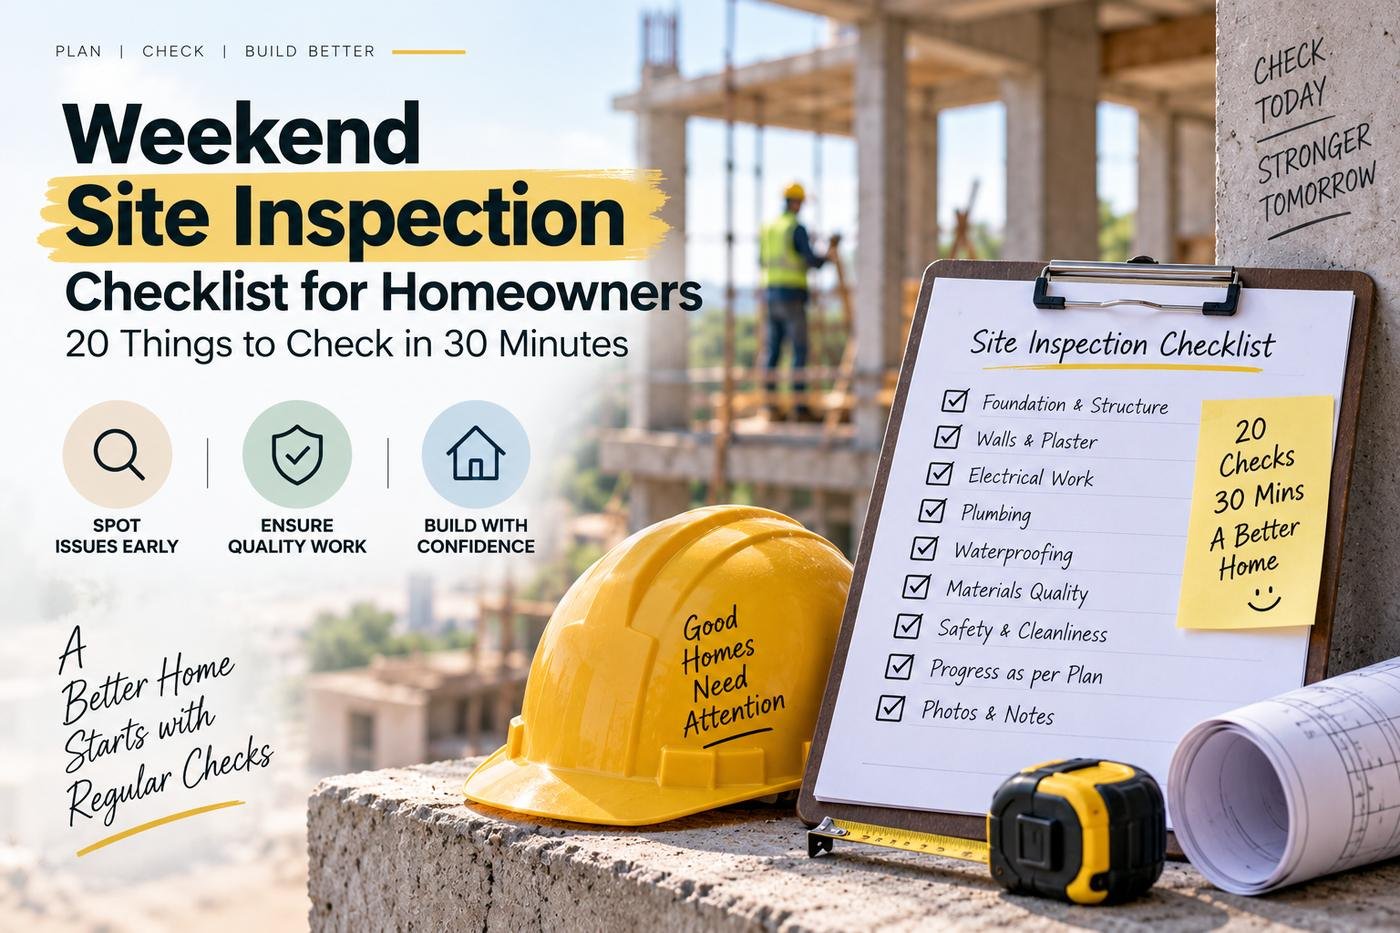
Most homeowners cannot visit their construction site every day. That does not mean weekend visits have to be random or limited to taking progress photos.
A structured 30-minute inspection can help you notice missing materials, poor storage, incomplete curing, unapproved changes, service conflicts, and delayed work before they become larger problems.
This checklist is designed for homeowners—not as a replacement for an engineer or site supervisor, but as a simple way to ask better questions during each visit.
Table of Contents
- Before You Enter the Site
- 1–5: Progress and Drawings
- 6–10: Materials and Storage
- 11–14: Structural Work
- 15–17: Plumbing, Electrical and Waterproofing
- 18–20: Documentation and Next Steps
- What Not to Do
- Simple Inspection Record
- Conclusion
Before You Enter the Site
Construction sites contain open edges, sharp steel, temporary electrical connections, debris, and moving materials.
Follow site-safety instructions, use appropriate footwear/PPE, and do not walk into active work zones without the supervisor.
1–5: Progress and Drawings
- What was planned this week? Compare target vs completed work.
- What is planned next? Know the next milestone before leaving.
- Are current drawings available? Old drawings can cause rework.
- Any design changes? Confirm who approved them.
- Any delay reason? Record material, labour, weather, or decision dependency.
6–10: Materials and Storage
- Check cement bags are dry and raised.
- Check steel grade/diameter against approved requirement where practical.
- Look for damaged bricks, blocks, tiles, or fixtures.
- Check sand/aggregate are not mixed with obvious debris or soil.
- Check high-value finishing materials are protected from active civil work.
11–14: Structural Work
- Ask whether the next concrete pour has been inspected.
- Check reinforcement is not visibly displaced or heavily contaminated.
- Ask about curing of recent concrete.
- Confirm structural changes have engineer approval.
15–17: Plumbing, Electrical and Waterproofing
- Check concealed service points against room layout before plaster.
- Ask whether water lines were pressure-tested before covering.
- Ask whether bathroom/terrace waterproofing was tested before finishing.
18–20: Documentation and Next Steps
- Take dated photos of the current stage.
- Record any approved material or scope change.
- Confirm the next payment only against the agreed milestone.
What Not to Do
- Do not give conflicting instructions directly to labour.
- Do not approve structural changes informally.
- Do not choose materials verbally without recording the change.
- Do not release large extra payments without written reason.
- Do not cover defects only because the next finishing stage is starting.
Simple Inspection Record
| Record | Example |
|---|---|
| Date | Weekend visit date |
| Stage | First-floor slab reinforcement |
| Issue | Two electrical points pending |
| Owner/contractor action | Finalize by Tuesday |
| Photo reference | Room/floor image |
Conclusion
A short, structured site visit is more useful than a long visit without a checklist.
- Compare progress with plan.
- Check visible material and storage issues.
- Ask about hidden work before it is covered.
- Document changes and next actions.
Want a More Organized Home Construction Experience?
Share your plot size, location, and required floors with The Home Construction team for a supervised turnkey construction discussion.
WhatsApp: +91 84488 02364