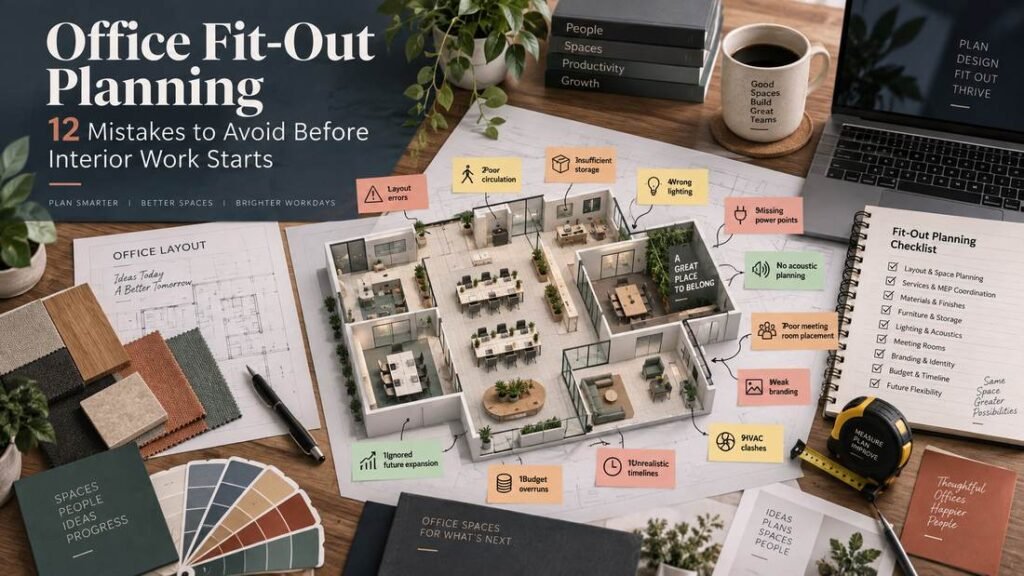
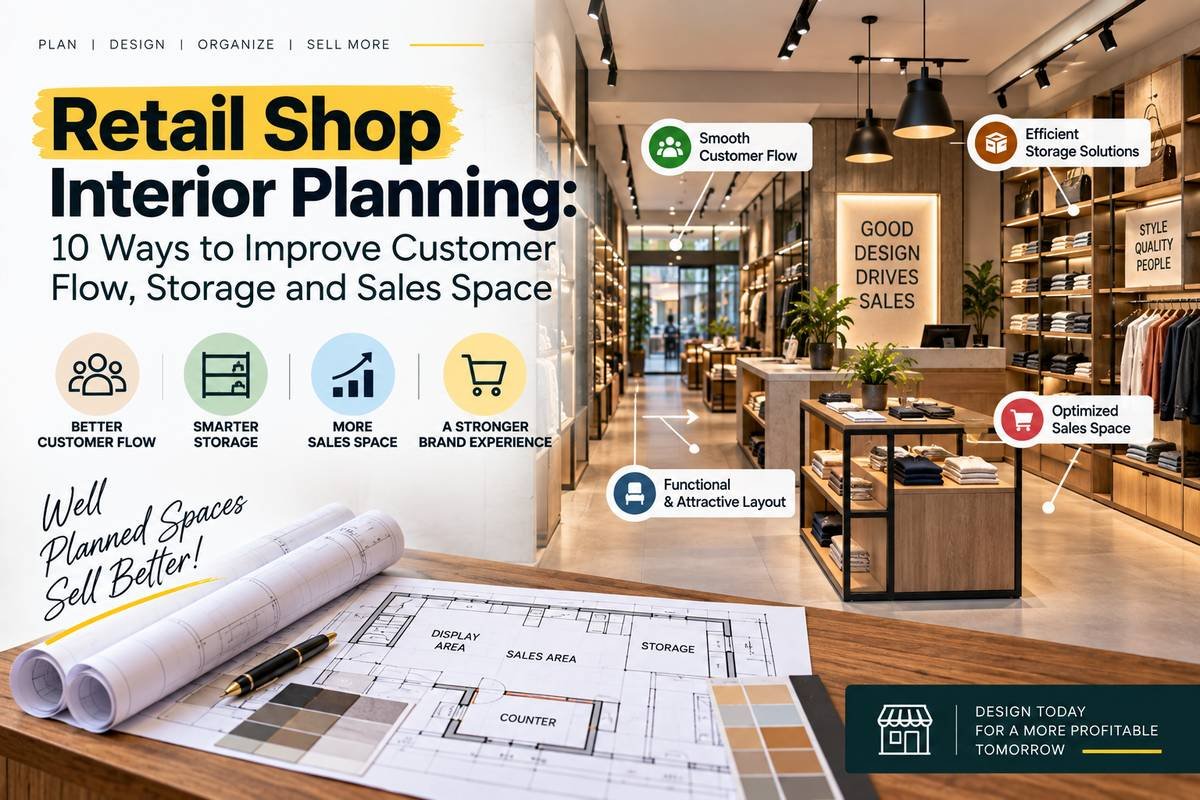
Retail shop interior planning should do more than make the store look attractive. The layout must help customers understand where to go, make products easy to see, keep staff movement practical, and protect enough back-end storage to run the business smoothly.
A beautiful shop can still perform poorly if the entrance is blocked, high-value products are poorly lit, checkout creates a queue bottleneck, or stock has nowhere to go.
Use these ten planning decisions before partitions, ceilings, electrical work, and fixtures are finalized.
Table of Contents
- Why Retail Shop Interior Planning Affects Performance
- 1. Keep the Entrance Clear
- 2. Create a Natural Customer Path
- 3. Prioritize High-Visibility Zones
- 4. Plan Checkout Position
- 5. Protect Back-End Storage
- 6. Use Lighting by Product Type
- 7. Coordinate Signage Early
- 8. Plan Power and Data
- 9. Include Security and Surveillance
- 10. Design for Re-Merchandising
- Final Retail Fit-Out Checklist
Why Retail Shop Interior Planning Affects Performance
Retail shop interior planning influences how customers enter, browse, compare products, interact with staff, and reach checkout.
1. Keep the Entrance Clear
The first few steps inside the shop should not feel crowded. Avoid placing bulky fixtures where customers need time to understand the space.
2. Create a Natural Customer Path
Arrange fixtures so customers can move without dead ends, awkward turns, or narrow pinch points. Keep staff replenishment routes practical too.
3. Prioritize High-Visibility Zones
Use prominent walls and eye-level areas for priority products, seasonal collections, or key brand communication.
4. Plan Checkout Position
Checkout should be easy to find without blocking the entrance or major circulation route. Plan queue space for peak periods.
5. Protect Back-End Storage
Insufficient stock storage leads to cartons in customer areas and slow replenishment. Decide how much inventory stays on display versus in back storage.
6. Use Lighting by Product Type
General lighting, accent lighting, shelf lighting, and display lighting serve different purposes. Avoid glare and color distortion that makes products look different from reality.
7. Coordinate Signage Early
Brand signage, category signs, offer displays, menu boards, or digital screens need power, mounting, visibility, and sometimes structural support.
8. Plan Power and Data
POS systems, printers, scanners, displays, digital signage, routers, music systems, and charging points should be planned before flooring and ceilings are finished.
9. Include Security and Surveillance
CCTV views, blind spots, access control, high-value product placement, and cash-counter visibility should be reviewed before fixtures block camera lines.
10. Design for Re-Merchandising
Retail layouts change with seasons and stock. Flexible shelving, movable fixtures, and practical power access make future changes easier.
Final Retail Fit-Out Checklist
Related Guides
Conclusion
A good project becomes easier when important decisions are made before work is hidden behind finishes or demolition begins. Use the checklist above to reduce rework, unclear costs, and last-minute compromises.
- Use retail shop interior planning to improve flow and operations.
- Keep checkout and storage practical.
- Coordinate lighting, signage, power, and CCTV early.
- Design fixtures for future merchandising changes.
Planning Your Next Project?
Share your property type, location, approximate area, and project requirement with The Home Construction team for a clear, stage-wise discussion.
WhatsApp: +91 84488 02364