Planning a Ground + 3 floors home can be confusing because the budget does not increase in a simple straight line with every floor. A multi-storey house needs stronger structural planning, more vertical circulation, additional services, and carefully sequenced construction.
For a plot owner, the most important question is not only “What is the cost per square foot?” but also “What exactly is included from excavation to the final roof level?”
This guide explains the major cost stages of an S+3 home, what changes as the structure rises, and which items must be verified before accepting any construction estimate.
Table of Contents
- What Does S+3 Mean?
- Why an S+3 Home Costs More Than a Single-Floor House
- Stage 1: Soil, Excavation, and Foundation
- Stage 2: RCC Frame and Slab Levels
- Stage 3: Brickwork and Internal Walls
- Stage 4: Plumbing, Electrical, and Waterproofing
- Stage 5: Finishing and Fixtures
- How to Estimate the Budget Properly
- Cost-Control Tips Without Compromising Quality
- Conclusion
What Does S+3 Mean?
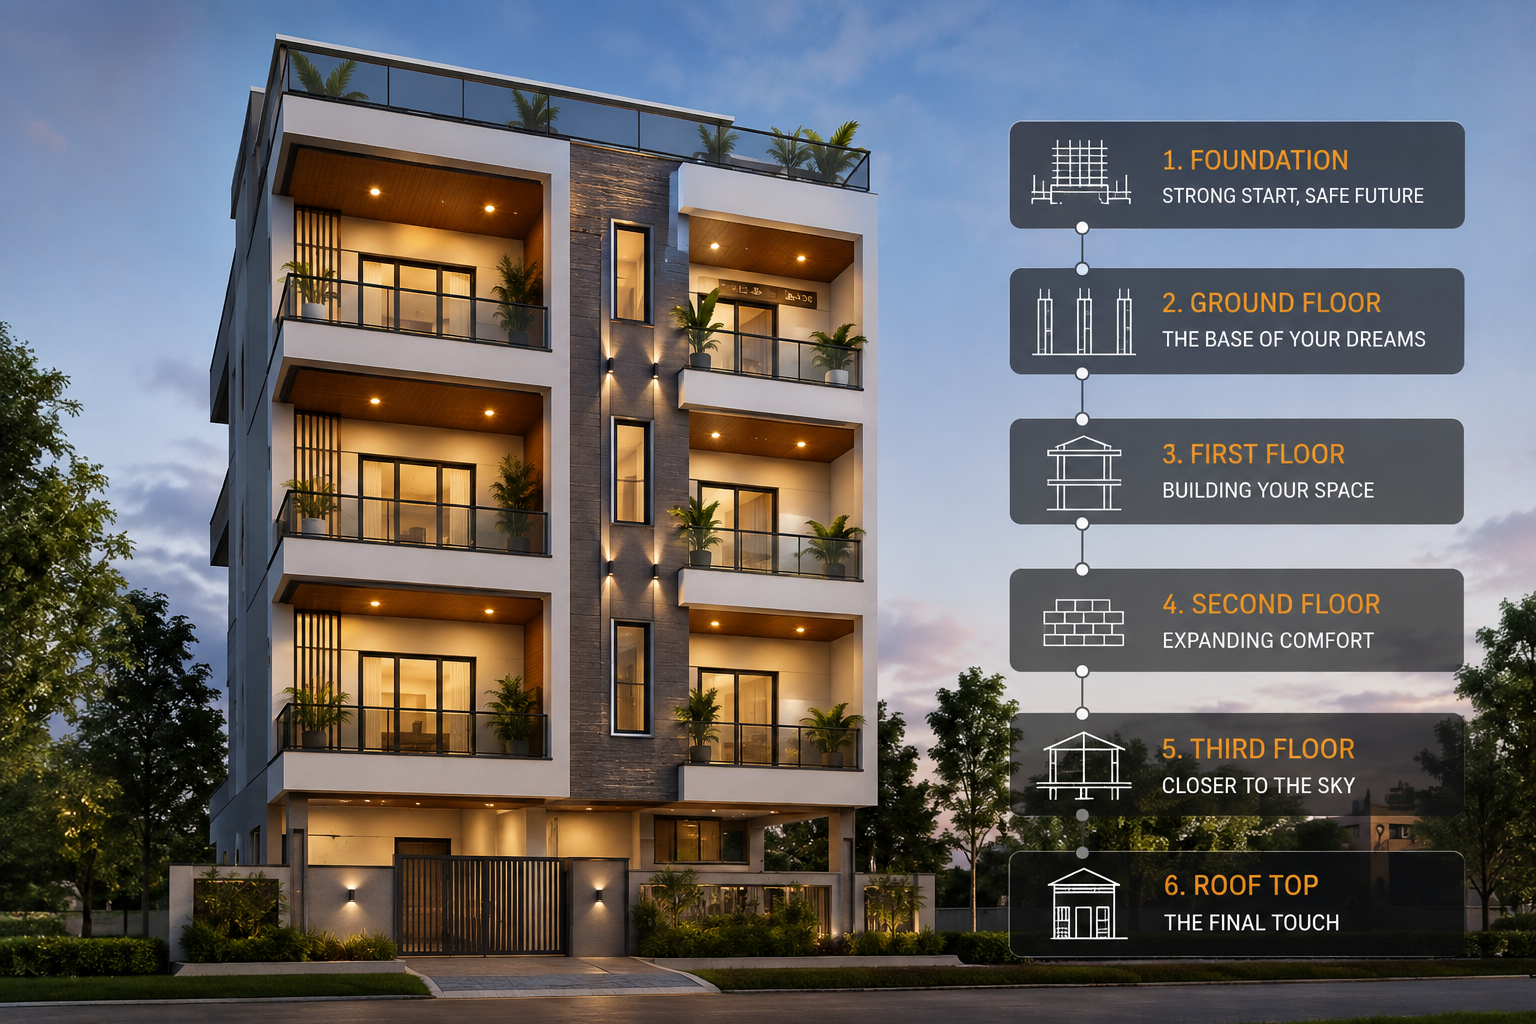
S+3 is commonly used to describe a structure with a lower or stilt/ground-related level plus three upper floors, depending on the project terminology being used. In normal homeowner discussions, people often use it to mean Ground + 3 floors.
That means four occupied floor levels in total when counted as Ground, First, Second, and Third.
In a typical RCC-framed Ground + 3 project, the structure may involve multiple horizontal slab levels from the ground/floor base up to the final roof. Some people informally count five slab levels when the ground-level slab/base and roof slab are both included, but the actual structural arrangement must be confirmed from the project drawings.
Why an S+3 Home Costs More Than a Single-Floor House
Adding floors changes more than the total built-up area.
The structure must safely transfer loads through columns, beams, walls, and foundations. Vertical plumbing lines, electrical risers, staircases, waterproofing details, and material lifting also become more important.
Major Cost Drivers
- Deeper or differently designed foundations depending on soil and structural loads
- Higher quantities of reinforcement steel and concrete
- More shuttering and formwork cycles
- Staircase and vertical circulation work
- Additional plumbing and electrical distribution
- Material lifting and site logistics
- More waterproofing-sensitive areas
- Longer project duration and supervision requirement
Stage 1: Soil, Excavation, and Foundation
The foundation is where cost planning should begin, not where it should be guessed.
The correct foundation type depends on soil conditions, column loads, structural design, plot constraints, and local engineering requirements.
Before Foundation Work Starts, Confirm
- Approved structural drawings
- Column grid and footing layout
- Excavation depth as per design
- Concrete grade and reinforcement details
- Water table or soil issues if relevant
- Plinth and damp-protection details
For multi-storey construction, trying to save money by reducing structural specifications without engineering approval is not a cost-saving method. It is a safety risk.
Stage 2: RCC Frame and Slab Levels
The RCC frame usually represents one of the largest structural portions of the budget because it includes steel, concrete, shuttering, labour, and repeated floor cycles.
| Structural Stage | Main Cost Items | Quality Check |
|---|---|---|
| Columns | Steel, concrete, shuttering | Rebar size, spacing, alignment |
| Beams | Reinforcement, formwork, concrete | Drawing compliance before pour |
| Slabs | Steel, shuttering, concrete, curing | Level, reinforcement, service openings |
| Staircase | RCC, reinforcement, finishing | Riser, tread, headroom, alignment |
Mobile tip: Swipe left-right to view the full table.
Every concrete pour should follow the approved drawing, proper formwork checks, reinforcement inspection, concrete placement, and curing requirements.
Stage 3: Brickwork and Internal Walls
Once the structural frame progresses, masonry begins to define rooms, openings, shafts, and service routes.
For an S+3 home, poor coordination at this stage can multiply rework across multiple floors.
Check Before Masonry Is Finalized
- Door and window opening sizes
- Bathroom and kitchen positions
- Plumbing shafts
- Electrical panel and conduit routes
- AC drain and service provisions
- Ventilation openings
A small planning mistake repeated on four levels can become an expensive correction later.
Stage 4: Plumbing, Electrical, and Waterproofing
Services become more complex in a multi-storey house because water, drainage, electrical supply, and communication lines must travel vertically and horizontally through the building.
Important Planning Areas
- Vertical soil and waste pipes
- Water-supply risers
- Overhead and underground tank connections
- Electrical floor distribution
- Earthing and safety systems
- Bathroom and terrace waterproofing
- Rainwater outlets and drainage
Stage 5: Finishing and Fixtures
Finishing is the stage where homeowner choices can change the budget very quickly.
Two houses with the same structure can have very different final costs depending on flooring, doors, windows, sanitaryware, kitchen specifications, paint, railings, lighting, and elevation finishes.
Define Specifications Before Comparing Quotes
- Flooring price range or approved product
- Door and window type
- Sanitaryware and CP fitting range
- Electrical switch and wire specification
- Paint system
- Kitchen scope
- Staircase and railing finish
- External elevation treatment
If these items are not defined, a low initial quotation may not be comparable with a more complete quotation.
How to Estimate the Budget Properly
A realistic S+3 estimate should be built from the project scope, not from one generic internet rate.
The Estimate Should Consider
- Plot location
- Total built-up construction area
- Structural design requirements
- Soil and foundation conditions
- Material specifications
- Number of bathrooms and kitchens
- Electrical and plumbing scope
- Finishing quality level
- External works and site access
- Any lift, stilt parking, or special feature if applicable
This is why two Ground + 3 houses of similar area can still have different budgets.
Cost-Control Tips Without Compromising Quality
- Freeze the floor plan early: Late structural and wall changes are expensive.
- Keep wet areas aligned: Stacking bathrooms and service shafts can simplify plumbing.
- Use standard sizes where practical: Doors, windows, and tiles with standard dimensions can reduce waste.
- Approve materials before procurement: Avoid last-minute upgrades and replacements.
- Coordinate services early: Prevent wall and slab rework.
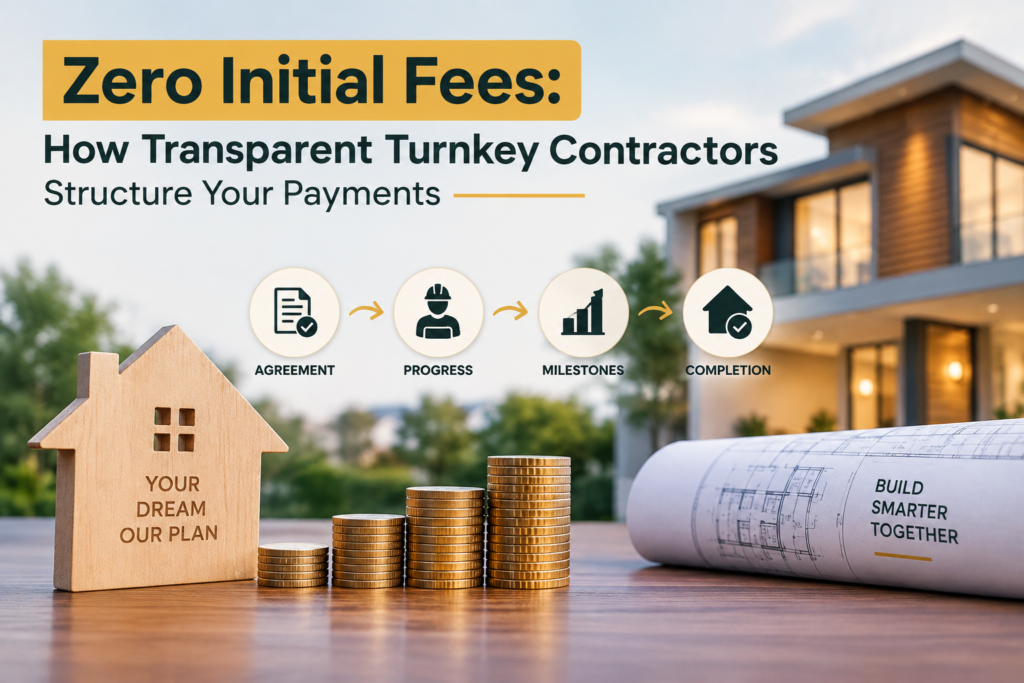
- Use milestone-based payments: Keep cash flow connected to actual progress.
Cost optimization should come from design efficiency, planning, and procurement discipline—not from reducing structural safety.
Conclusion
An S+3 home should be budgeted as a complete multi-stage project, not simply as “area multiplied by one rate.”
- Start with approved architectural and structural planning.
- Understand the cost impact of foundation, RCC, services, and finishing separately.
- Define material and finishing specifications before comparing quotations.
- Keep major payments linked to measurable construction milestones.
Need an S+3 Construction Estimate for Your Plot?
Share your plot size, location, and required number of floors with The Home Construction team for a project-specific, stage-wise quotation.
WhatsApp: +91 84488 02364